A mentor once sat me down and showed me something that changed my mixes for good. He pulled up an EQ, opened the spectrum analyzer, and pointed at exactly where two tracks were clashing in the low-mids. I’d spent years hearing that real engineers mix by ear only, that mixing with your eyes was a crutch for people who hadn’t put in the reps.
That advice is half right and mostly unhelpful. Mixing with your eyes isn’t cheating. It’s a specific skill that solves a specific problem, and once you know when to reach for it, your mixes improve faster than ear training alone will get you there. This post covers the visual tools I actually use, how to find clashing frequencies with them, and where leaning on your eyes starts working against you.
What “Mixing With Your Eyes” Actually Means
Why the “cheating” label sticks
The purist argument sounds reasonable on the surface: the person streaming your track never sees your screen, so if a mix only works because it looks right, it falls apart the second someone actually listens. That’s true, and I’ll come back to it. But that argument usually comes from people who already have years of trained ears behind them. They’ve forgotten what it’s like to stare at a mix that sounds muddy with zero idea why, because they’ve internalized pattern recognition a newer producer simply hasn’t built yet.
Visual mixing gives you access to that pattern recognition before your ears have caught up. Sonarworks makes the same point: using visual feedback from meters and analyzers alongside listening is standard practice among working engineers, not a shortcut around it.
What changed after my mentor showed me frequency balancing
The session that changed things for me wasn’t complicated. My mentor loaded an EQ, pointed at a build-up in the low-mids, and showed me exactly where two elements were stacking on each other. I could hear the mud once he pointed at it. I just hadn’t been able to find it on my own.
That session is what got me using visual tools for frequency balancing in the first place: stock EQ8 for everyday balancing, and FabFilter Pro-Q4 specifically for hunting down clashes.
The Visual Tools Worth Learning
FabFilter Pro-Q4 for spotting frequency clashing
When the question is specifically “where are these two things clashing,” Pro-Q4 is my go-to. Its spectrum analyzer shows exactly where a track’s energy sits, and its Show Collisions feature highlights, in red, where two sidechained tracks overlap and start masking each other. That one feature has saved me hours of guessing on client mixes.
Youlean Loudness Meter, RMS, and stock Ableton EQ8 for level and balance
For loudness, I use the Youlean Loudness Meter to check LUFS, and a free RMS meter when I want a quick read on level without opening anything heavier. Neither replaces your ears on a final loudness call, but they stop you from guessing on something that’s genuinely hard to judge late in a session when your ears are tired.
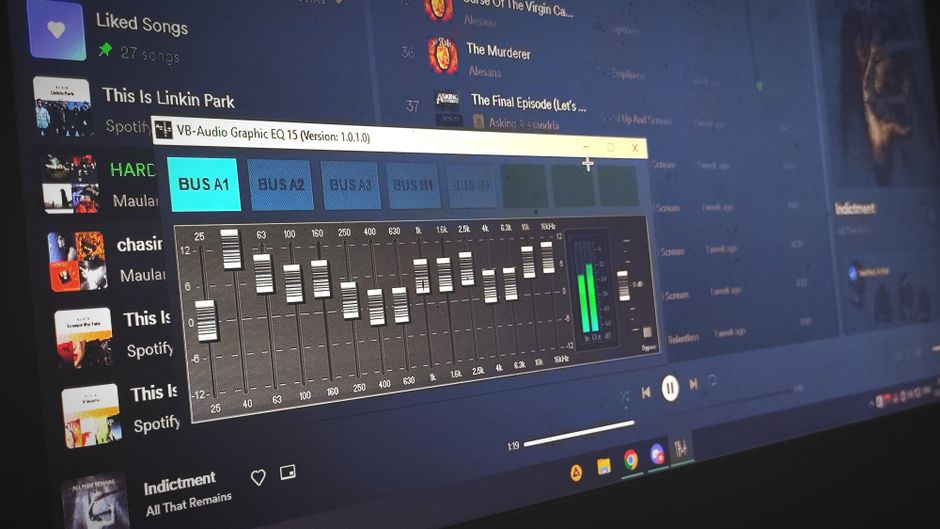
For frequency balancing itself, you don’t need anything fancy. Stock Ableton EQ8 is still the tool I reach for first, since the curve and the frequency readout stay in front of you the entire time you’re cutting and boosting. Audio Issues frames it well: using an analyzer to guide your cuts is really just a faster way to learn the frequency ranges you’d otherwise memorize through years of trial and error. If you want the fuller list of what’s actually in my plugin folder beyond EQ, I broke that down in what working producers actually use day to day.
Mid-side EQ with Span or a mid-side switch
Once basic frequency balancing feels natural, mid-side EQ is worth learning next. Span, or a mid-side switch built into some EQs, lets you see how a mix splits between the center and the sides. I haven’t gone as deep with Span as I have with Pro-Q4, but even a surface-level look at mid-side balance tells you a lot about whether your low end is sitting centered the way it should.
How to Find Clashing Frequencies
This is the exact process I use, and the one I walked a coaching student through after they got stuck on two elements that would not sit together. They could hear something was wrong. They just couldn’t tell where.
- Load an instance of Pro-Q on each of the two tracks you think are clashing.
- On one instance, set the other track as the sidechain input.
- Turn on the collision or analyzer view so both spectrums show up on the same screen.
- Look for where the two curves overlap the most. That’s your clash.
- Cut or shape one track in that range, or route it through a dedicated tool like Trackspacer to duck it automatically.
Here’s that exact process from a coaching call, finding and fixing the clash in real time:
That student couldn’t place the clash no matter how long they listened for it. Seeing it on screen was what finally cracked it, which is exactly the kind of mix problem that’s invisible until you know where to look.
Where Visual Mixing Becomes a Crutch
The mistake I see students make
The failure mode I see most is students who start making every decision by staring at a meter instead of listening to the result. They’ll cut a frequency because the analyzer showed a spike, without checking whether the cut actually made the track sound better. That’s backwards. Pro Audio Files makes the point well: a mix can look correct on screen and still sound lifeless once you actually listen to it, because a meter doesn’t hear the way your ears do.
Why you still have to trust your ears
Here’s my honest counterargument to my own advice: the waveform is not the sound. It’s a representation of the sound, and different plugins don’t even represent it the same way. Stock EQ8 tends to show more detail in the low end than Pro-Q4 does on the same track. Neither reading is wrong, they just resolve that range differently, which means whatever’s on your screen is never the full picture. Produce Like a Pro lands on the same idea, that your ears make the final call and your meters exist to confirm what you already suspect, not to override it.
So after I use a visual tool to find a clash, I close my eyes and listen to the cut before I commit to it. If it doesn’t sound better, the visual pointed at something my ears didn’t confirm, and the ears win.
Is Mixing With Your Eyes Right for You?

If you’re not a professional mixing engineer, you probably haven’t trained your ears to the point where you catch a frequency clash the instant it happens. That’s not a knock on your skill level, it’s just where you are right now, and it’s exactly why I teach visual tools to my coaching students alongside ear training instead of picking one over the other.
One of my 12-week coaching students, Rachel, spent months fighting a kick and bass that kept competing with each other. She couldn’t figure out why, and she’d been deep in the YouTube tutorial loop before we worked together, trying technique after technique with nobody pointing at the actual problem. Once we pulled up the frequency spectrum together, the fix was obvious. “My kick was too quiet,” she told me afterward, “and I would never have known.”
FAQ: What Producers Ask About Mixing With Your Eyes
Does Pro-Q 3 do this too?
Yes. The collision and sidechain analysis described above isn’t exclusive to Pro-Q4. Pro-Q3 has the same core sidechain and analyzer functionality, so if you already own it, you don’t need to upgrade just for this.
What about Trackspacer?
Trackspacer, from Wavesfactory, is worth adding once you’re past finding clashes and want to fix them automatically. Instead of manually cutting a frequency range, it analyzes a sidechain signal and ducks only the frequencies that are actually clashing, across 32 bands, so the result sounds more natural than a blanket sidechain compressor. I reach for it most for keeping bass and kick out of each other’s way, or clearing space for a lead vocal.
How do you actually attack clashing frequencies once you find them?
Load an instance of Pro-Q on both tracks you want to analyze, then set one to sidechain off the other so you can see both spectrums at once. Once you can see exactly where they overlap, you’ve got two options: cut or shape one track manually in that range, or route it through Trackspacer so the ducking happens automatically whenever the two signals actually collide. I use the manual cut when I want full control over tone, and Trackspacer when I want a fast, transparent fix.
The Bottom Line
Mixing with your eyes isn’t a shortcut around skill. It’s a way to see what you can’t yet hear, and every producer I’ve coached who leaned on it early got to a finished, professional-sounding mix faster than the ones trying to do it by ear alone from day one. The tools matter less than the habit: use the analyzer to find the problem, then close your eyes and let your ears confirm the fix.
If you’re stuck fighting the same frequency clash Rachel was, that’s exactly the kind of problem the 12-week coaching program is built to solve, one-on-one, on your own tracks. Book a free strategy call and let’s find what’s actually clashing in your mix.